To charge the Hover 1 Hoverboard, simply connect the provided charger to the charging port on the hoverboard and plug it into a power outlet. Have you recently purchased a Hover 1 Hoverboard and are wondering how to charge it?
Look no further. Charging your hoverboard is a simple process that can be done in a few easy steps. By following this guide, you’ll be able to ensure that your hoverboard is always ready for your next adventure. So, let’s dive right in and learn how to charge your Hover 1 Hoverboard.
Contents
- 1 Understanding The Hover 1 Hoverboard Battery
- 2 Preparing Your Hover 1 Hoverboard For Charging
- 3 Connecting Your Hover 1 Hoverboard To The Charger
- 4 Charging Your Hover 1 Hoverboard Safely And Efficiently
- 5 Completing The Charging Process And Ensuring Optimal Performance
- 6 Frequently Asked Questions For How To Charge Hover 1 Hoverboard
- 7 Conclusion
Understanding The Hover 1 Hoverboard Battery
Hoverboards have revolutionized personal transportation, offering an exhilarating and eco-friendly way to travel. The Hover 1 Hoverboard has gained popularity due to its sleek design and impressive performance. One crucial aspect of enjoying your hoverboard to the fullest is understanding its battery system. In this article, we will delve into the details of the Hover 1 Hoverboard battery, exploring different models and types, examining battery capacity and performance, and emphasizing the significance of checking the battery health before charging.
Differentiating Between Battery Models And Types
When it comes to hoverboard batteries, it is essential to understand the different models and types available. The Hover 1 Hoverboard battery typically falls into two categories: the built-in battery and the replaceable battery. Let’s take a closer look at each:
Built-in battery
The built-in battery is integrated into the hoverboard’s frame, providing a discreet and sleek design. These batteries have a fixed capacity and are directly charged using a power adapter or USB cable. It is important to note that the built-in battery cannot be replaced once its lifespan is exhausted, requiring proper care and maintenance.
Replaceable battery
The replaceable battery, as the name suggests, can be easily detached and replaced. This feature offers the advantage of extending the hoverboard’s lifespan by simply swapping out the old battery for a new one. Additionally, it provides the flexibility of carrying spare batteries for longer trips – ensuring uninterrupted enjoyment. However, it is crucial to ensure compatibility between the hoverboard model and the replacement battery before making a purchase.
Understanding the battery model and type of your Hover 1 Hoverboard is crucial for proper maintenance and charging. Now, let’s shift our focus to the battery capacity and performance.
Examining The Battery Capacity And Performance
The battery capacity of a Hover 1 Hoverboard determines the distance it can travel on a single charge. Battery capacity is measured in milliampere-hours (mAh). The higher the mAh value, the longer the hoverboard will run. While different hoverboard models may feature different battery capacities, a typical range can be between 2000mAh to 4000mAh.
It is important to note that battery performance can vary based on several factors. These include the rider’s weight, terrain conditions, speed, and even the weather. For optimal performance, it is recommended to charge the hoverboard battery fully and avoid completely draining it before recharging. Maintaining the battery and regularly checking its health is crucial to ensure longevity and consistent performance.
Significance Of Checking The Battery Health Before Charging
Before charging your Hover 1 Hoverboard battery, it is crucial to check its health. This step ensures the battery’s condition is suitable for charging and prevents any potential hazards. Here are a few reasons why checking battery health is significant:
- Ensures safe charging: Checking the battery health helps identify any potential issues or damage, ensuring safe charging practices.
- Optimizes battery lifespan: Regularly monitoring the battery health allows for prompt maintenance or replacement, maximizing the lifespan of your hoverboard battery.
- Consistent performance: A healthy battery guarantees reliable performance, allowing you to enjoy your hoverboard to the fullest without unexpected power disruptions.
To check the battery health, assess the physical condition of the battery, including any signs of swelling or damage. Additionally, monitoring the battery’s voltage using a multimeter can provide valuable insights into its overall health.
Understanding the different battery models and types, examining battery capacity and performance, and checking the battery health before charging are crucial steps to ensure an enjoyable and safe hoverboarding experience. By paying attention to your Hover 1 Hoverboard battery, you can maximize its lifespan and maintain optimal performance for many adventures to come.
Preparing Your Hover 1 Hoverboard For Charging
Before you jump on your hoverboard and take a thrilling ride, it’s important to ensure that it is properly charged and ready to go. Taking a few minutes to prepare your Hover 1 Hoverboard for charging can help prolong its battery life and ensure a smooth riding experience. In this section, we’ll cover three important steps to take before you start charging your hoverboard: ensuring the hoverboard is powered off, finding a suitable charging location, and cleaning the hoverboard before charging to prevent damage.
Ensuring The Hoverboard Is Powered Off
Before you connect your hoverboard to the charger, it’s essential to make sure that it is completely powered off. This will prevent any electrical mishaps and ensure a safe charging process. To power off your hoverboard, follow these simple steps:
- Locate the power button on your hoverboard. It is usually located either on the side or at the front of the board.
- Press and hold the power button until the hoverboard shuts down completely.
- Once the hoverboard is powered off, you can proceed to the next step of finding a suitable charging location.
Finding A Suitable Charging Location
When it comes to charging your hoverboard, it’s important to find a suitable location that is safe and convenient. Here are a few things to consider when selecting a charging spot:
- Ensure that you have access to a power outlet that is compatible with your hoverboard charger.
- Select a flat and stable surface to place your hoverboard during charging. This will prevent any accidental falls and ensure a stable connection with the charger.
- Avoid charging your hoverboard in areas with excessive heat or moisture, as these conditions can potentially damage the battery.
- Make sure the charging area is well-ventilated to prevent any overheating issues.
Cleaning The Hoverboard Before Charging To Prevent Damage
Before you connect your hoverboard to the charger, it’s a good idea to give it a quick clean to prevent any dust, dirt, or debris from entering the charging ports. Follow these steps to clean your hoverboard:
- Use a soft, dry cloth to wipe away any dirt or dust from the surface of the hoverboard.
- Inspect the charging ports and ensure they are free from any debris. If needed, gently use a cotton swab to clean the ports.
- Check the wheels for any dirt or foreign objects that may affect the performance of your hoverboard. Remove any debris if necessary.
- Once you have cleaned your hoverboard, you can confidently connect it to the charger and let it charge fully.
By following these steps to prepare your Hover 1 Hoverboard for charging, you can ensure that it stays in top condition and ready for your next exhilarating ride. Now that your hoverboard is powered off, you have found a suitable charging location, and you have cleaned it to prevent damage, you can proceed with connecting it to the charger and let the excitement begin!
Connecting Your Hover 1 Hoverboard To The Charger
Charging your Hover 1 hoverboard is an essential part of keeping it powered up and ready for your next thrilling ride. In order to charge your hoverboard effectively, it is crucial to properly connect it to the charger. In this guide, we will walk you through the process, step by step, to ensure that you can charge your hoverboard safely and efficiently.
Locating The Charging Port On Your Hoverboard
The first step in connecting your Hover 1 hoverboard to the charger is to locate the charging port. The charging port is typically located on the bottom side of the hoverboard near the wheelbase. It is usually covered by a rubber flap to protect it from dust and moisture. Remove the rubber flap carefully to reveal the charging port.
Inserting The Charger Securely Into The Charging Port
Once you have located the charging port, take the charger and ensure that it is compatible with your Hover 1 hoverboard. Insert the charger’s connector into the charging port with a gentle yet firm push. Make sure that the connector is properly aligned with the port to avoid any damage.
Confirming The Charger Is Connected Properly Before Charging
Before you start charging, it is important to confirm that the charger is connected properly to your Hover 1 hoverboard. Check for any loose connections or signs of damage. Ensure that the charger connector is securely plugged into the charging port. This will help prevent any interruptions in the charging process.
If you are uncertain whether the charger is connected properly, it is recommended to double-check the alignment and connection. Taking a few extra seconds to confirm the connection will give you peace of mind and ensure a successful charging session.
Remember, charging your Hover 1 hoverboard correctly is paramount to maintain its performance and longevity. By following these steps and confirming the connection, you can charge your hoverboard safely and efficiently.
Charging Your Hover 1 Hoverboard Safely And Efficiently
When it comes to charging your Hover 1 Hoverboard, it’s important to prioritize safety and efficiency. With the right approach, you can ensure that your hoverboard is fully charged and ready to go whenever you need it. In this guide, we’ll walk you through the key considerations for charging your Hover 1 Hoverboard, including understanding the charging time and recommended duration, monitoring the battery charge status during charging, and steps to ensure safety while the hoverboard is left unattended during charging.
Understanding The Charging Time And Recommended Duration
Before you start charging your Hover 1 Hoverboard, it’s crucial to understand the charging time and recommended duration. Every hoverboard model has different specifications, so it’s essential to refer to the user manual or manufacturer’s guidelines for precise information. In general, hoverboards take around 2 to 4 hours to fully charge.
Keep in mind that charging your hoverboard for too long can have adverse effects on the battery life. Overcharging can lead to overheating and may even cause damage to the battery. On the other hand, if you don’t charge your hoverboard for an adequate duration, you may end up with a partially charged battery, limiting your ride time.
Monitoring The Battery Charge Status During Charging
To ensure you charge your Hover 1 Hoverboard efficiently, it’s crucial to monitor the battery charge status during the charging process. Most hoverboards come equipped with LED indicators to provide you with an easy way to check the battery’s charge level. Typically, these indicators display different colors to indicate the charge status.
When you connect your hoverboard to the charger, the LED light will turn red to indicate the charging process has started. As the battery gets closer to being fully charged, the LED light will change to green. Once it turns green, you know your hoverboard is fully charged and ready for use.
Steps To Ensure Safety While The Hoverboard Is Left Unattended During Charging
While it’s important to charge your Hover 1 Hoverboard safely, it’s equally crucial to ensure its safety while it’s left unattended during the charging process. Here are some steps you can follow:
- Place your hoverboard on a flat, stable surface away from any flammable materials or liquids.
- Ensure that the charging port is securely connected to the hoverboard.
- Keep the charging area well-ventilated to prevent overheating.
- Never leave your hoverboard charging overnight or for an extended period without supervision.
- Regularly check the charging progress to ensure there are no abnormalities or signs of overheating.
By following these steps, you can ensure the safety of your hoverboard and minimize any potential risks associated with charging.
Completing The Charging Process And Ensuring Optimal Performance
In order to ensure optimal performance from your Hover 1 hoverboard, it’s important to complete the charging process correctly and take measures to maintain the battery life. By following these simple steps, you can identify when your hoverboard battery is fully charged, safely disconnect the charger, and implement tips for extending the battery life and longevity of your hoverboard. Let’s dive into each process to ensure that your hoverboard remains in top-notch condition for your riding adventures.
Identifying The Signs That Your Hoverboard Battery Is Fully Charged
To properly identify when your Hover 1 hoverboard battery is fully charged, it’s essential to keep an eye out for specific signs. These indicators will help you determine if the battery has reached its maximum charging capacity. Here are a few signs to look out for:
- When the battery status light turns green or displays a solid color.
- When the charging time has surpassed the manufacturer’s recommended duration, typically around 2 to 3 hours.
- When the charger displays an LED light to indicate a full charge.
It is important to note that overcharging the battery can lead to reduced battery life and may even damage the hoverboard. Therefore, ensuring your battery is fully charged without exceeding the recommended charging time is crucial for optimal performance.
Disconnecting The Charger From The Hoverboard Safely
Once you have identified that your Hover 1 hoverboard battery is fully charged, it’s time to disconnect the charger safely to avoid any potential damage. Follow these steps to ensure a safe disconnection:
- Turn off the hoverboard by pressing the power button.
- Unplug the charger from the power outlet.
- Gently remove the charger from the charging port of the hoverboard.
Taking these precautions will not only protect your hoverboard from any electrical issues but also prevent overcharging that can negatively impact the battery’s performance and overall lifespan.
Tips For Maintaining The Battery Life And Longevity Of Your Hoverboard
To ensure that your Hover 1 hoverboard remains in top-notch condition and its battery lasts as long as possible, consider implementing these tips for maintaining battery life:
- Store your hoverboard in a cool and dry place, away from direct sunlight and excessive heat.
- Avoid fully draining the battery; instead, recharge your hoverboard once it reaches around 20% to 30% battery life.
- Regularly clean the charging port and check for any dirt or debris that may hinder the charging process.
- Only use the charger provided by the manufacturer to ensure compatibility and avoid any potential damage.
By following these battery maintenance tips, you can maximize the lifespan of your Hover 1 hoverboard battery and enjoy many hours of thrilling rides without any performance issues.
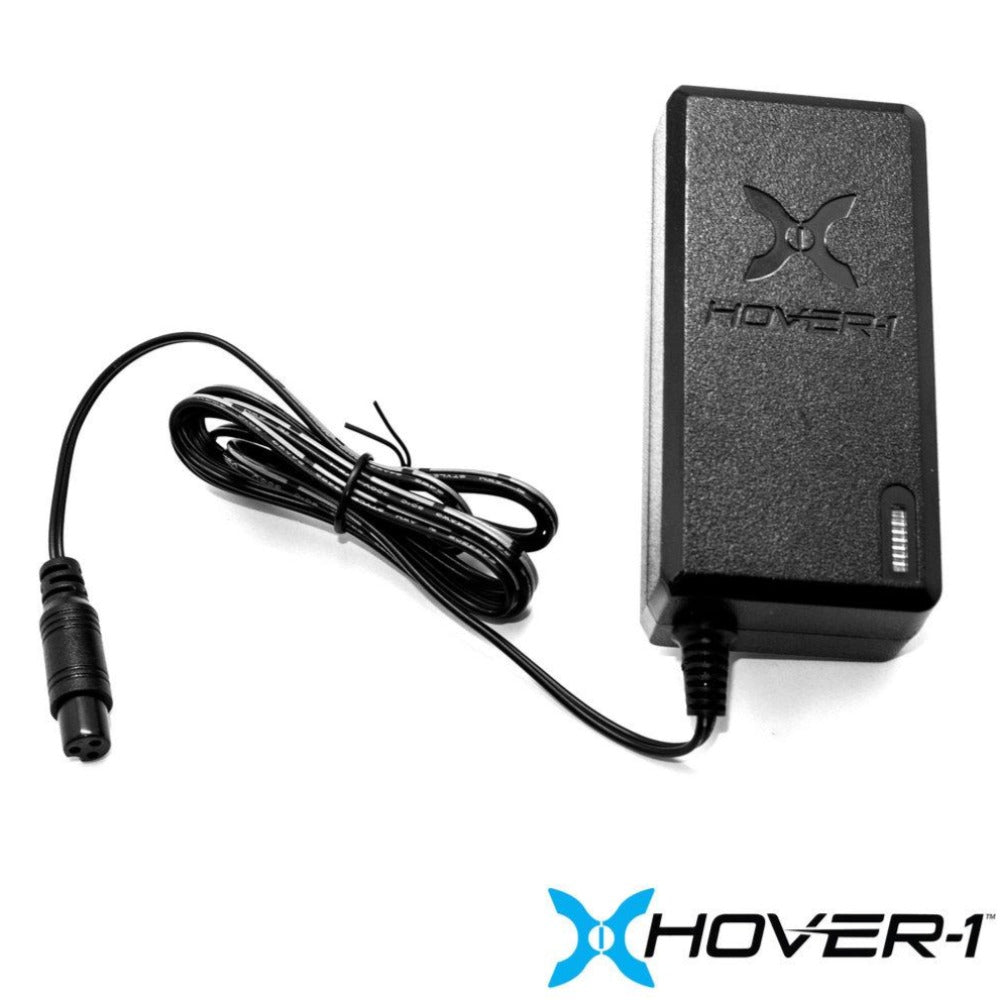
Credit: www.hover-1.com
Frequently Asked Questions For How To Charge Hover 1 Hoverboard
How Do I Know If My Hover 1 Hoverboard Is Charging?
To check if your Hover 1 hoverboard is charging, look for a glowing indicator light on the hoverboard or the charging port. It usually turns red or green when the battery is charging. You can also check if the battery level is increasing on the hoverboard’s display, if it has one.
How Long Does A Hover 1 Take To Charge?
A Hover 1 takes around 2-3 hours to fully charge.
Do You Have To Turn On Hoverboard When Charging?
Yes, it is necessary to turn on your hoverboard when charging.
Why Is My Hover 1 Drive Hoverboard Not Charging?
Your Hover-1 Drive hoverboard may not be charging due to issues with the power supply or battery. Check if the charger is properly connected and the power outlet is functioning. If the problem persists, contact customer support for assistance.
Conclusion
Charging your Hover 1 Hoverboard is a simple process that requires following a few key steps. By ensuring that you have the correct charger, connecting it properly to your hoverboard, and monitoring the charging time, you can keep your hoverboard powered up and ready for your next adventure.
Remember to always prioritize safety by using the manufacturer-approved charger and avoiding overcharging. Happy riding!