To unstick a fuel float, gently tap the sides of the fuel tank to dislodge any debris or buildup. You can also try adding a fuel additive to dissolve any varnish or residue.
Dealing with a stuck fuel float can be frustrating, but there are simple steps you can take to resolve the issue. Whether it’s tapping the fuel tank or using a fuel additive, addressing this problem promptly is crucial for the smooth operation of your vehicle.
Understanding how to unstick a fuel float can save you time, money, and potential headaches in the long run. We’ll explore some effective methods to tackle this common issue and get your vehicle back on track. So, let’s dive in and learn the best ways to unstick a fuel float and keep your vehicle running smoothly.
Contents
Troubleshooting Your Fuel System
When it comes to maintaining a properly functioning fuel system, it’s important to be proactive in identifying and resolving potential issues. One common problem that car owners may encounter is a stuck fuel float, which can cause inaccurate fuel level readings and affect the overall performance of the vehicle. Understanding the signs of a stuck fuel float and the common reasons for this malfunction is essential for addressing the issue effectively.
Signs Of A Stuck Fuel Float
Identifying the signs of a stuck fuel float is crucial for ensuring the proper operation of your fuel system. The following indications may suggest that your fuel float is sticking:
- Inaccurate fuel level readings on the dashboard gauge
- Fluctuating or erratic fuel gauge readings
- Engine misfires or stalling due to insufficient fuel delivery
Common Reasons For Malfunction
Understanding the potential causes of a stuck fuel float can help you pinpoint the underlying issue. Some common reasons for this malfunction include:
- Accumulation of debris or sediment in the fuel tank
- Corrosion or damage to the fuel float mechanism
- Worn or faulty fuel float arm or pivot assembly
Identifying A Stuck Fuel Float
When a fuel float is stuck, it can lead to inaccurate fuel level readings, causing a range of issues such as misreading the fuel gauge, engine stalling, or fuel leaks. Identifying a stuck fuel float is crucial for maintaining the proper functionality of your vehicle’s fuel system. Let’s explore the visual inspection steps and symptoms you may encounter during vehicle operation when dealing with a stuck fuel float.
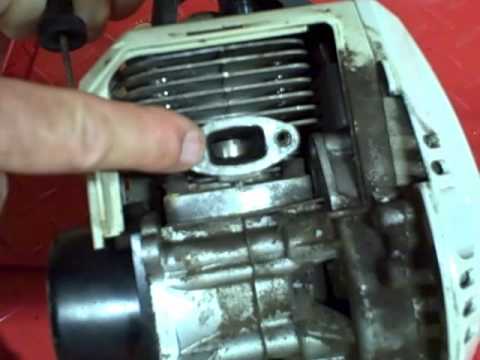
Visual Inspection Steps
Visual inspection is the initial step in identifying a stuck fuel float. When conducting a visual inspection, follow these steps:
- Open the fuel tank to visually inspect the fuel float and its associated components.
- Check for any visible signs of damage, corrosion, or obstructions that could be causing the float to stick.
- Verify that the float moves freely and without any restrictions.
Symptoms During Vehicle Operation
Several symptoms may manifest during vehicle operation if the fuel float is stuck. It’s important to be aware of these potential indicators:
- Erratic fuel gauge readings, such as the gauge fluctuating or showing full when the tank is not topped off.
- Engine stalling due to improper fuel level readings, leading to fuel starvation.
- Fuel leaks caused by a stuck float preventing the proper closing of the fuel inlet valve.
How To Access The Fuel Float
Accessing the fuel float is crucial for troubleshooting and resolving issues with your vehicle’s fuel level indicator. It allows you to inspect, clean, or replace the float and address any related problems. Below, you’ll find a guide on how to access the fuel float, along with necessary tools and safety precautions for the task.
Necessary Tools
- Wrench or socket set
- Clean rags
- Lubricating spray
- Flashlight
- Gloves
Safety Precautions
Before accessing the fuel float, ensure the following safety precautions:
- Work in a well-ventilated area to prevent exposure to fuel vapors.
- Ensure the vehicle’s engine is turned off and the ignition key is removed to prevent accidental engine starts.
- Avoid smoking or using open flames in the vicinity of the work area.
- Wear eye protection and gloves to prevent contact with fuel and debris.
Step-by-step Access Guide
- Locate the fuel tank: Consult your vehicle’s manual or online resources to identify the fuel tank’s location.
- Access the fuel tank: If the fuel tank is not easily accessible from the engine bay, you may need to raise the vehicle using a jack and support it with jack stands.
- Remove the fuel tank access cover: Using the appropriate tools, carefully remove the cover to gain access to the fuel float and sending unit.
- Inspect and troubleshoot: With the access cover removed, visually inspect the fuel float and sending unit for any signs of damage, debris, or wear. Clean or replace components as necessary.
- Reassemble and test: Once the necessary inspections and maintenance are completed, reassemble the fuel tank access cover and lower the vehicle if it was raised. Test the fuel gauge to ensure proper functionality.
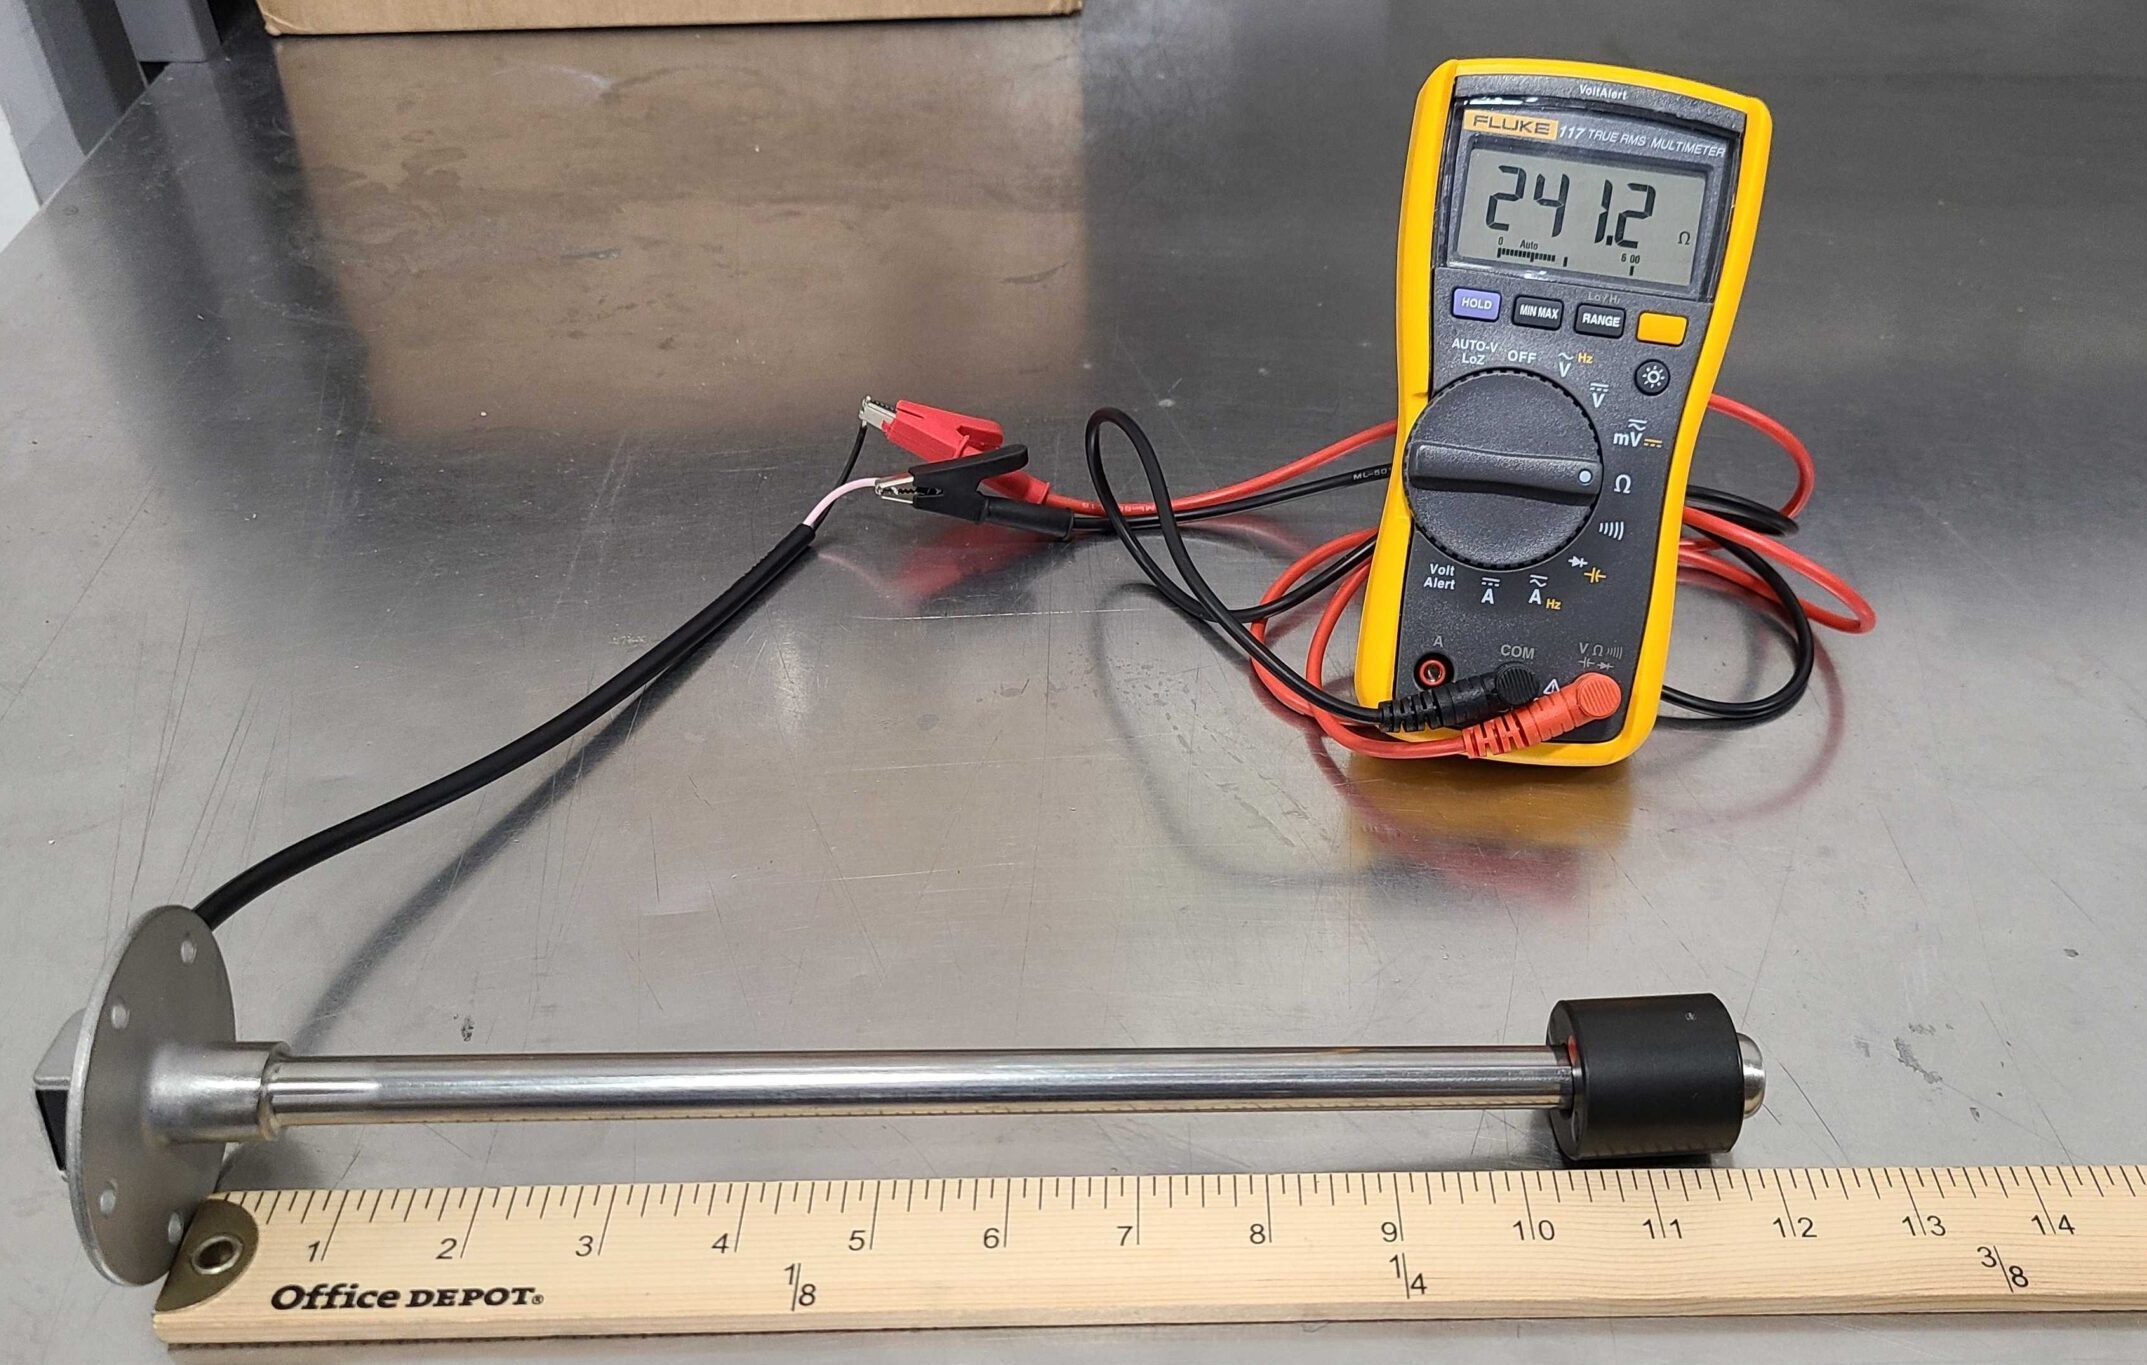
Credit: kus-usa.com
Executing The Unsticking Process
When dealing with a stuck fuel float, executing the unsticking process is crucial to prevent any potential damage and get your vehicle running smoothly again. There are various techniques and tips that can help effectively unstick a fuel float without causing any harm. Let’s explore some of these methods to assist you in getting your vehicle back on the road.
Techniques For Unsticking Without Damage
When it comes to unsticking a fuel float without causing any damage, it’s important to approach the process with care. Here are a few techniques that can be employed:
- Tap Gently: Gently tapping the fuel tank with a rubber mallet can often dislodge a stuck fuel float without causing damage to the delicate components.
- Use Solvents: Applying a safe solvent to the fuel float can help dissolve any buildup or debris that may be causing it to stick, allowing it to move freely again.
- Heat Application: Gentle heating of the fuel tank in the area of the float can help to expand the metal, potentially freeing the stuck float.
Cleaning And Maintenance Tips
Keeping your fuel float clean and well-maintained can go a long way in preventing it from getting stuck in the first place. Here are some valuable tips:
- Regular Inspection: Regularly inspect the fuel float and its surrounding components for any signs of buildup or damage.
- Cleaning: Periodically clean the fuel tank and components to remove any accumulated debris or contaminants that could lead to sticking.
- Proper Lubrication: Applying a suitable lubricant to the fuel float mechanism can help ensure smooth movement and reduce the likelihood of sticking.
Ensuring Successful Fuel Float Repair
If your vehicle’s fuel gauge is giving inaccurate readings, it could be due to a sticking fuel float. A stuck float can cause improper fuel level readings, leading to inconvenience and potential damage to the engine. Ensuring successful fuel float repair involves thorough testing, proper reassembling after servicing, and preventive measures for future issues.
Testing For Proper Float Function
Before reassembling the fuel float, it’s crucial to test its proper function. This can be done by carefully inspecting the float for any signs of damage or debris that could cause it to stick. Additionally, fill the fuel tank to various levels and observe the float’s movement to ensure it moves freely and accurately reflects the fuel level. Testing for proper float function ensures that the repair is comprehensive and will address the issue effectively.
Reassembling After Servicing
Efficient reassembling after servicing the fuel float is crucial for optimal performance. Make sure to carefully follow the manufacturer’s guidelines and use the appropriate tools to reassemble the fuel float. Additionally, inspect other components such as the float arm and needle to ensure they are in good condition and properly aligned. Proper reassembling after servicing guarantees that the fuel float operates smoothly and accurately.
Preventive Measures For Future
After repairing the fuel float, taking preventive measures for future issues is essential. This includes regular maintenance checks to ensure the float remains free from debris and operates smoothly. It is also advisable to use high-quality fuel to prevent any potential buildup that could lead to sticking. Implementing preventive measures for the future helps to prolong the lifespan of the fuel float and maintain accurate fuel level readings.
Frequently Asked Questions For How Do You Unstick A Fuel Float
How Can I Tell If My Fuel Float Is Stuck?
If you suspect your fuel float is stuck, check for irregular fuel gauge readings or engine stalling. These are common signs that the fuel float may not be functioning properly. It’s important to address this issue promptly to ensure your engine runs smoothly.
What Causes A Fuel Float To Get Stuck?
A fuel float can become stuck due to residue buildup, incorrect fuel levels, or a faulty float mechanism. Additionally, prolonged use can lead to wear and tear, resulting in a stuck float. Regular maintenance and inspections can help prevent this issue.
Can I Fix A Stuck Fuel Float At Home?
Yes, if you have some mechanical knowledge and the necessary tools, you can attempt to fix a stuck fuel float at home. However, it’s essential to proceed with caution and consult your vehicle’s manual or seek professional assistance if you’re unsure about the process.
Conclusion
In a nutshell, dealing with a stuck fuel float requires patience and attention to detail. By following the simple steps outlined in this guide, you can effectively troubleshoot and resolve this common issue. Remember to perform regular maintenance to prevent future problems and ensure smooth operation of your vehicle’s fuel system.
With these tips, you can keep your car running at its best.