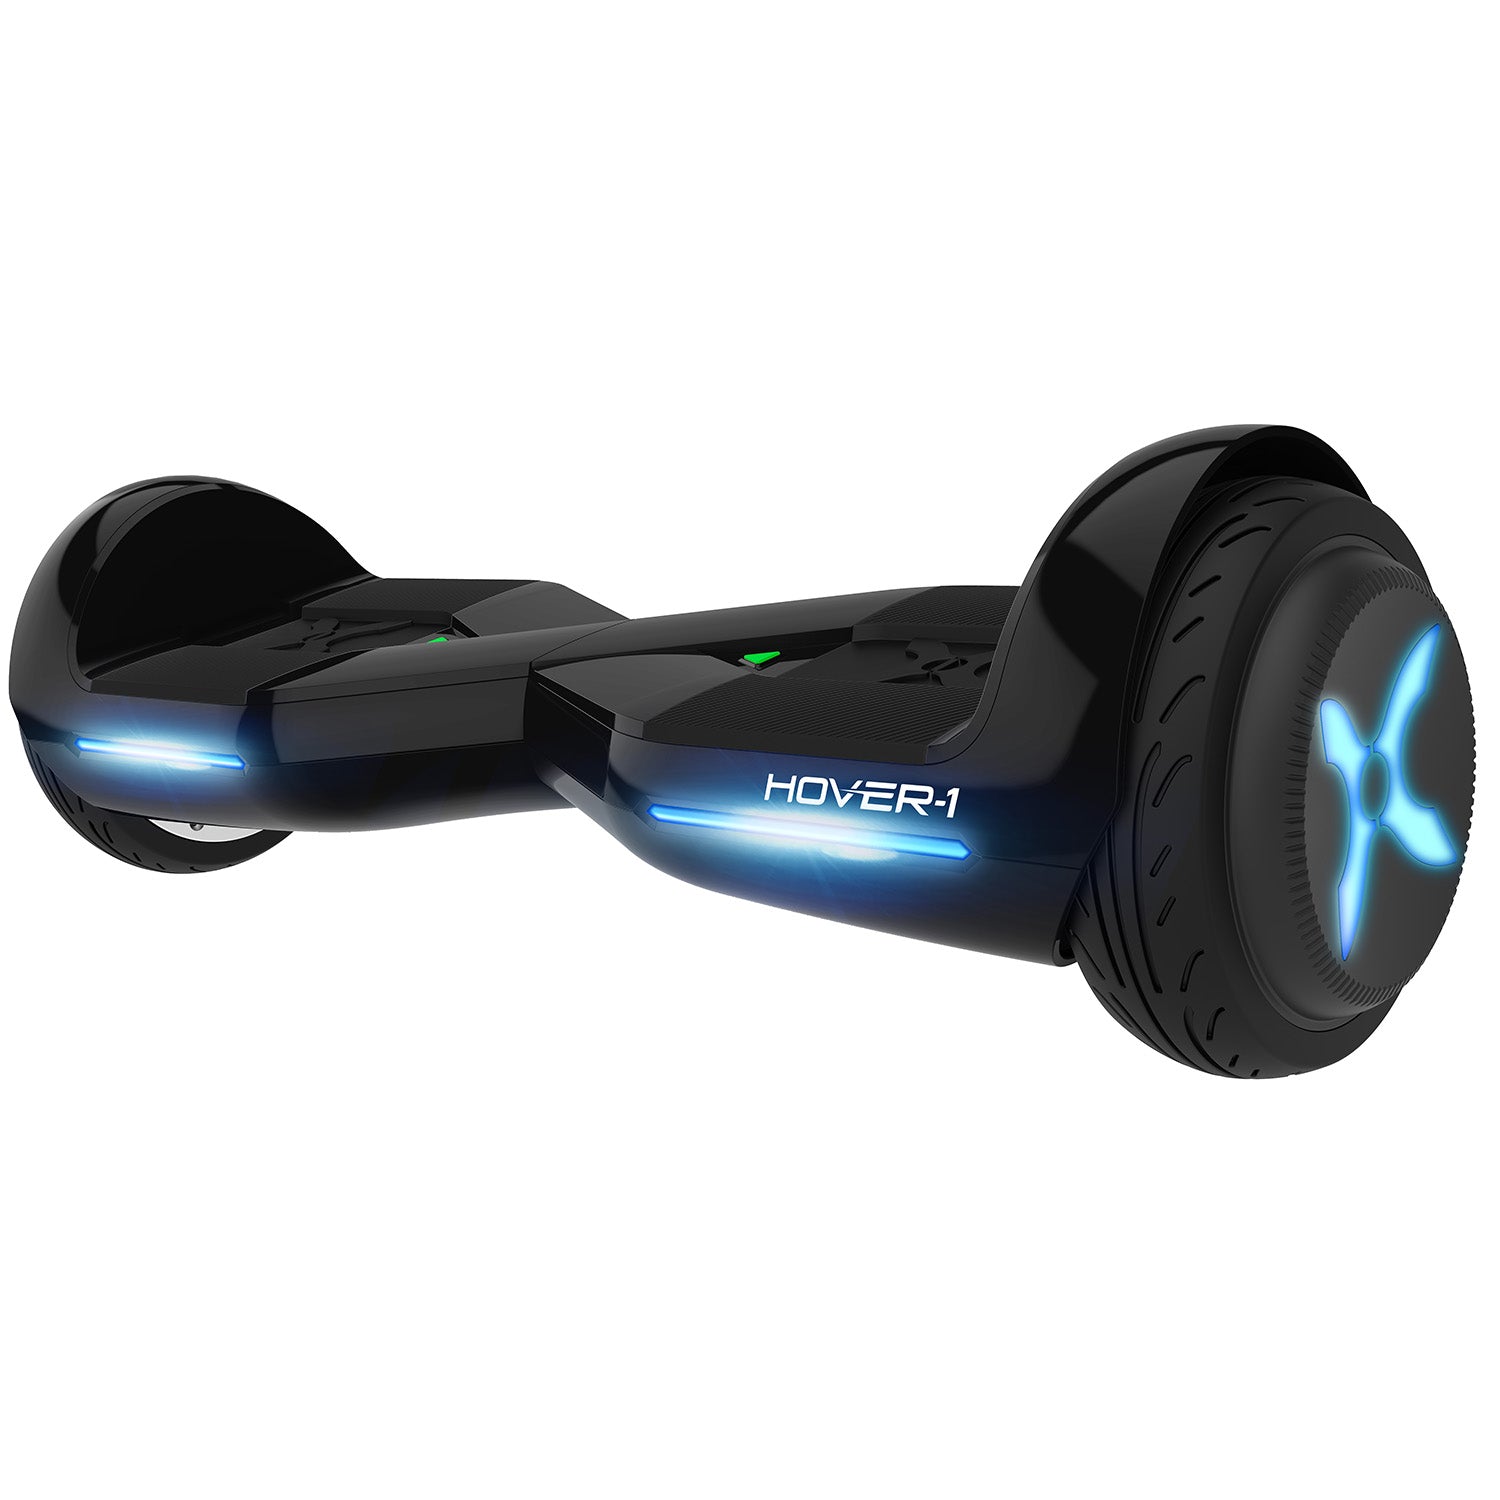
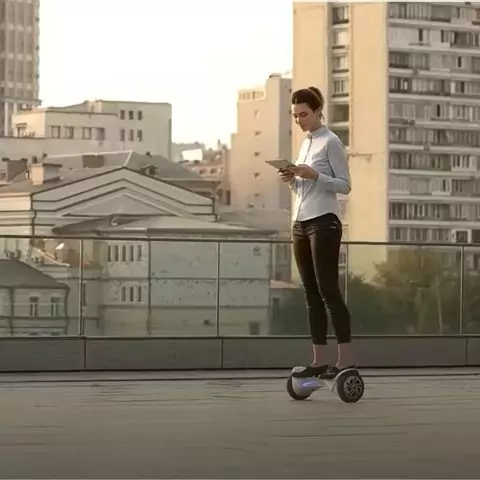
To use the Hover 1 Hoverboard, step onto the board with one foot at a time and slowly shift your weight forward to propel it forward or backward.
Contents
Safety First: Preparing For Riding
Riding a Hover 1 Hoverboard can be an exhilarating experience, but it’s important to prioritize safety before hopping on. By taking a few simple precautions and following some basic guidelines, you can ensure a safe and enjoyable ride. In this article, we’ll discuss the essential steps to prepare yourself for riding a Hover 1 Hoverboard.
Choosing The Right Location
Before riding your Hover 1 Hoverboard, it’s crucial to select the appropriate location. Choose an area that provides a smooth and flat surface, free from obstructions such as debris or potholes. Smooth pavement or concrete are ideal choices, as they allow for better control and stability.
Additionally, consider the surrounding environment. Avoid busy roads or areas with heavy pedestrian traffic to minimize the risk of accidents. It’s always better to ride in quiet neighborhoods, empty parking lots, or designated skate parks where you can have ample space to practice and maneuver without distractions.
Checking The Hoverboard’s Battery
Another essential step is to ensure that your Hover 1 Hoverboard has enough battery power to support your ride. Examine the battery indicator on the hoverboard to determine the charge level. If the battery is running low, it’s recommended to recharge it before venturing out.
To avoid any unexpected power disruptions during your ride, always keep a spare battery pack or charger handy. This way, you can recharge your Hover 1 Hoverboard on the go if needed, ensuring an uninterrupted riding experience.
Wearing Protective Gear
To safeguard yourself during hoverboarding, it’s vital to wear proper protective gear. Investing in a high-quality helmet is the first step in protecting your head from potential injuries. Make sure the helmet fits snugly and covers your forehead and the back of your head.
Add to that, wearing elbow pads, knee pads, and wrist guards will provide additional protection to your limbs in case of a fall or accident. These protective gears help absorb impact and reduce the risk of any serious injuries. Prioritize safety by securely fastening each protective gear to ensure they stay in place while riding.
By adhering to these safety measures and preparing yourself before riding a Hover 1 Hoverboard, you can minimize the risks and enjoy a safe and thrilling ride.
Getting Started: Mounting And Dismounting
Learn how to easily mount and dismount a Hover 1 Hoverboard with these simple steps. Master the art of getting started and experience the thrilling ride of this popular electric scooter.
Correct Foot Placement
Mounting The Hoverboard
- Step 1: Place your hoverboard on level ground with enough space around you.
- Step 2: Stand with one foot next to the hoverboard, keeping your weight on the stationary foot.
- Step 3: Use your other foot to push off the ground, gliding it smoothly onto the footpad of the hoverboard.
- Step 4: As you place your second foot on the hoverboard, shift your weight evenly onto both feet.
- Step 5: Keep your body centered and maintain balance by engaging your core muscles.
Dismounting The Hoverboard Safely
- Step 1: Slow down your hoverboard by gradually reducing the pressure on the footpads.
- Step 2: Shift your weight slightly towards your dominant foot.
- Step 3: With a gentle push from your dominant foot, step off the hoverboard.
- Step 4: Land with both feet simultaneously, maintaining your balance.
Mastering The Basics: Balancing And Maneuvering
One of the most essential skills you need to conquer when riding a Hover 1 hoverboard is to master the basics of balancing and maneuvering. These skills lay the foundation for your hoverboard experience, ensuring a safe and enjoyable ride. In this guide, we’ll break down the key techniques to help you find your center of balance, control your speed and direction, and practice turns and swivels with ease.
Finding Your Center Of Balance
Before you hop on your hoverboard, it’s important to understand where your center of balance should be. This will help you maintain stability and control while riding. Begin by standing with your feet shoulder-width apart on a flat surface. Shift your weight forward and backward, paying attention to how your body naturally adjusts to keep you upright. The goal is to achieve a balanced and upright position on the hoverboard.
Controlling Speed And Direction
Once you’ve found your center of balance, it’s time to learn how to control your speed and direction. To start moving forward, slowly lean forward by shifting your body weight towards the front of the hoverboard. The more you lean, the faster you’ll accelerate. Conversely, to slow down or stop, gradually shift your weight backward, putting pressure on your heels. Remember to maintain your center of balance and make subtle adjustments as needed.
Turning with your hoverboard requires a combination of balance, weight distribution, and foot movement. To make a gentle turn, shift your weight towards the direction you want to go. For sharper turns, use your toes and ankles to pivot, guiding the hoverboard in the desired direction. As you practice, you’ll become more comfortable with these maneuvers, allowing you to navigate corners and obstacles effortlessly.
Practicing Turns And Swivels
Now that you have the basics down, it’s time to hone your turning and swiveling skills. Find an open area free of obstacles to practice. Start by making wide turns, gradually working your way up to tighter turns. Experiment with different foot positions and weight distributions to find what works best for you. Practice swiveling in place by shifting your weight from one foot to the other while maintaining your balance. This will help you become more agile on your hoverboard and enable you to handle various riding scenarios with confidence.
Exploring Advanced Techniques: Tricks And Riding Styles
When it comes to the Hover 1 Hoverboard, it’s not just about cruising around town. Once you’ve mastered the basics, you can take your riding experience to the next level by exploring advanced techniques, tricks, and riding styles. In this section, we will delve into the exciting world of performing basic tricks, riding styles for different terrains, and provide tips for mastering tricks and style.
Performing Basic Tricks
If you’re looking to show off your skills and impress your friends, learning some basic tricks on your Hover 1 Hoverboard is a must. Here are a few tricks that you can start practicing:
| Trick | Description |
|---|---|
| 1. Wheelie | Raise the front or back wheels of your hoverboard off the ground and balance on the remaining wheels. |
| 2. Spin | Rotate your body and board in a complete circle while staying balanced. |
| 3. Jump | With enough speed, push your hoverboard off the ground and land safely. |
Riding Styles For Different Terrains
Not all surfaces are created equal, and the Hover 1 Hoverboard is designed to handle various terrains. To optimize your riding experience, it’s important to understand the different riding styles for each terrain. Here’s a breakdown of riding styles based on terrain:
- Pavement: Focus on smooth and controlled movements.
- Grass: Shift your weight slightly forward for stability.
- Hills: Lean forward to maintain speed and uphill momentum.
- Off-road: Use wider stance for better stability and maneuverability.
Tips For Tricks And Style Mastery
If you want to become a master of tricks and style on your Hover 1 Hoverboard, here are a few tips to keep in mind:
- Practice, practice, practice! Like any skill, the more you practice, the better you’ll become.
- Start with simple tricks and gradually progress to more advanced ones.
- Always wear protective gear, including a helmet, knee pads, and elbow pads, to ensure your safety.
- Watch instructional videos to learn new tricks and riding techniques.
- Don’t be afraid to experiment and try new things – creativity is key!
Maintenance And Troubleshooting: Extending The Lifespan
Proper maintenance and troubleshooting are essential for maximizing the lifespan of your Hover 1 hoverboard. By following the recommendations for keeping the hoverboard clean and dry, maintaining optimal battery life, and applying common troubleshooting solutions, you can ensure a smooth and long-lasting ride.
keeping The Hoverboard Clean And Dry
To extend the lifespan of your Hover 1 hoverboard, it is crucial to keep it clean and dry. Regularly clean the hoverboard using a soft cloth or brush to remove any dirt and debris. Avoid using harsh chemicals or abrasive materials that could damage the surface or electronics.
Additionally, it is important to prevent the hoverboard from getting wet. Avoid riding through puddles, wet grass, or in rainy conditions as water damage can significantly affect the functionality of your hoverboard. If the hoverboard does get wet accidentally, make sure to dry it thoroughly before using it again.
H3maintaining Optimal Battery Life/h3
One of the most crucial aspects of maintaining your Hover 1 hoverboard is taking care of the battery. To ensure optimal battery life, follow these tips:
- Charge it fully before use: Before riding your hoverboard, make sure to charge it fully. This will help extend the battery life and prevent premature draining.
- Avoid overcharging: Once the hoverboard is fully charged, unplug it from the power source. Overcharging can lead to battery degradation and reduced lifespan.
- Store it properly: When not in use, store your hoverboard in a cool and dry place. Extreme temperatures can negatively impact the battery life.
H3common Troubleshooting Solutions/h3
Even with proper maintenance, you may encounter some issues with your Hover 1 hoverboard. Here are a few common troubleshooting solutions to help you resolve them quickly and efficiently:
- Calibrate the hoverboard: If you notice the hoverboard leaning to one side or having trouble balancing, it may need calibration. Follow the manufacturer’s instructions on how to calibrate the hoverboard.
- Check for loose screws: Regularly inspect the hoverboard for any loose or missing screws. Tighten them if necessary to ensure a secure and safe riding experience.
- Reset the hoverboard: If your hoverboard experiences software-related issues, try resetting it. Refer to the user manual or manufacturer’s website for instructions on how to reset your specific hoverboard model.

Frequently Asked Questions
Why Is My Hover 1 Not Working?
Hover 1 might not be working due to various reasons: low battery, faulty wiring, or a problem with the motor. Check the battery charge, inspect the wires for damage, and ensure the motor is functioning properly. If issues persist, consult the user manual or contact customer support for further assistance.
What App Do You Need For The Hover 1?
To use the Hover-1, you need the Hover-1 App. This app allows you to connect to your Hover-1 electric scooter, access features, track your ride, and adjust settings. Download the Hover-1 App on your smartphone to get started.
How Do You Ride A Hover 1 Hoverboard?
To ride a Hover 1 Hoverboard, first, step onto the board with one foot at a time. Place your feet shoulder-width apart and keep your balance. Lean forward slightly to start moving forward and lean back to slow down or stop.
Use your body weight to steer left or right.
How Fast Can A Hover 1 Hoverboard Go?
A Hover 1 Hoverboard can reach a maximum speed of up to 10 miles per hour. However, it is important to ride at a safe and comfortable speed, especially if you are a beginner. Start with lower speeds and gradually increase as you become more skilled and confident.
Final Thoughts
To sum up, mastering the art of using the Hover 1 Hoverboard is easier than you might think. By following the steps outlined in this guide, you can confidently navigate and enjoy the thrilling experience of riding a hoverboard. Remember, safety should always be your priority, so be sure to wear protective gear and practice in a controlled environment.
So what are you waiting for? Get on your hoverboard and start gliding into the future!


