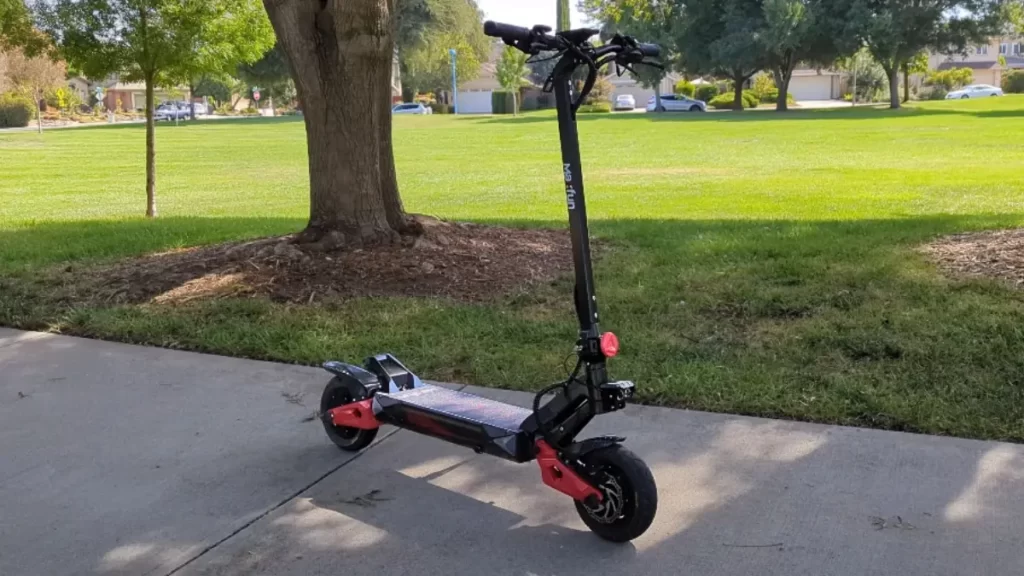
Electric scooters are popular for their efficiency, eco-friendliness, and convenience. At the heart of every scooter’s control system lies the throttle—the component that communicates your desired speed to the controller and motor. Understanding how the throttle wiring works is essential for troubleshooting, repairs, or DIY upgrades.
Contents
What Is an Electric Scooter Throttle?
The throttle is the interface between you and the scooter’s motor. When you twist the grip or press the thumb lever, the throttle sends a voltage signal to the controller, which adjusts the motor’s speed. Most modern scooters use Hall effect throttles, which rely on magnetic sensors to deliver smooth acceleration.
Standard Throttle Wiring Colors
While wiring can vary between models, most electric scooter throttles follow a fairly standard color code:
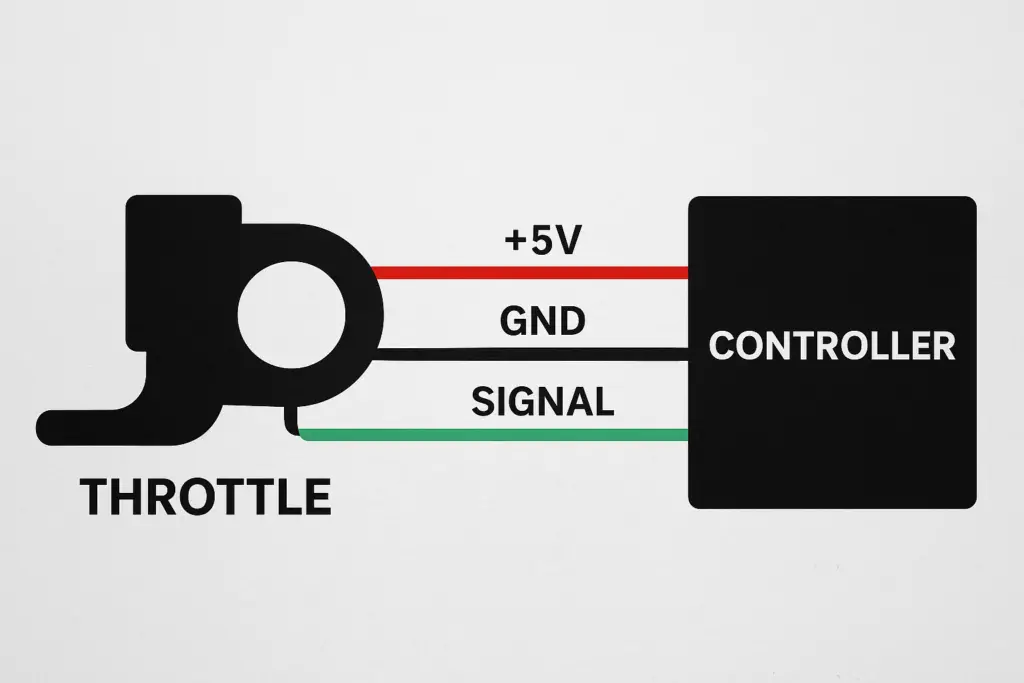
- Red wire → +5V power supply from the controller
- Black wire → Ground (–)
- Green/Blue/White wire → Signal wire (voltage output to the controller, usually 0.8–4.2V depending on throttle position)
Some throttles may include extra wires for features such as battery indicators, lights, or speed switches.
How the Wiring Diagram Looks
A basic throttle wiring diagram typically shows three main connections:
If your throttle has five wires, two additional ones may power LED battery indicators or control functions like “eco/turbo” mode.

Troubleshooting Throttle Wiring
If your scooter is not accelerating properly, the throttle wiring could be the issue. Here are some common problems:
- Loose or disconnected wires – Check the harness and connectors.
- Damaged insulation – Look for frayed or pinched wires that could short-circuit.
- Faulty Hall sensor – If the throttle isn’t sending the correct voltage signal, the Hall sensor may need replacing.
- Controller mismatch – Ensure the throttle voltage range matches your scooter’s controller (typically 5V systems).
Tips for DIY Repairs
- Always disconnect the scooter battery before working on wiring.
- Use a multimeter to test voltage on the signal wire while operating the throttle.
- Match wire colors carefully, but confirm with the controller manual, as manufacturers may differ.
- Heat-shrink tubing or electrical tape should be used to protect connections after repair.
Frequently Asked Questions (FAQ)
Q: Can I use any throttle with my electric scooter?
A: Not always. The throttle must match your scooter’s controller specifications (voltage range and connector type).
Q: Why does my throttle have more than three wires?
A: Extra wires often power battery indicators or speed switches built into the throttle.
Q: What voltage should the signal wire output?
A: Typically between 0.8V (no throttle) and 4.2V (full throttle).
Q: Can I bypass a throttle?
A: It’s not recommended, as it can cause unsafe full-power operation. Always replace with a proper throttle.
Final Thoughts
Understanding an electric scooter throttle wiring diagram is crucial for maintenance and upgrades. Whether you’re repairing a faulty throttle or installing a new one, paying attention to wire connections and voltage ranges ensures smooth and safe rides. Always consult your scooter’s manual for exact wiring details, as color codes can vary slightly across manufacturers.


